Tuesday, August 30, 2011
Bookcase
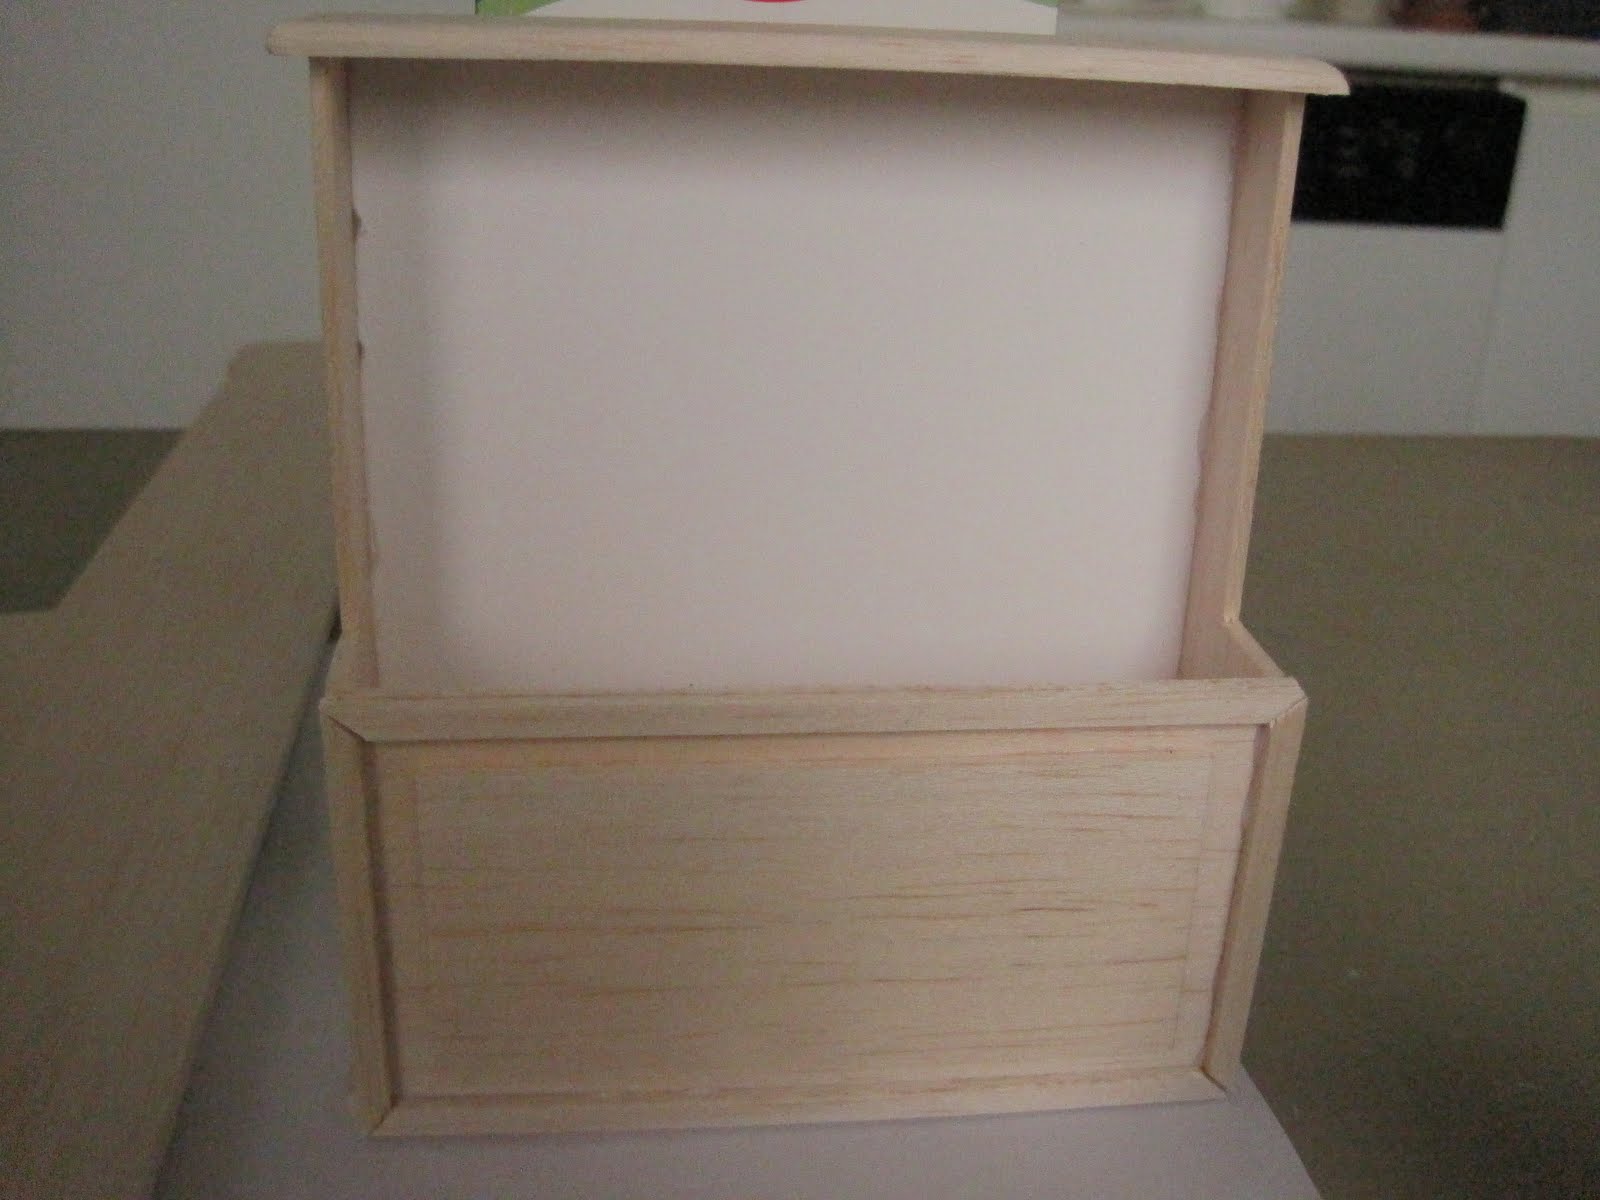
This bookcase is extremely self explanatory, but the picture could give some of you some inspiration. The two side panels are 10 cm x 1,5 cm, and the shelves are 1,5 cm x 5 cm. The books are made of cardboard on which I glued book covers I found on Google Images! You copy them into an Open Office document, you crop them to a really small size and you print them. Very easy and very cute.
Monday, August 29, 2011
Nightstand
This little nightstand is made out of balsa wood.
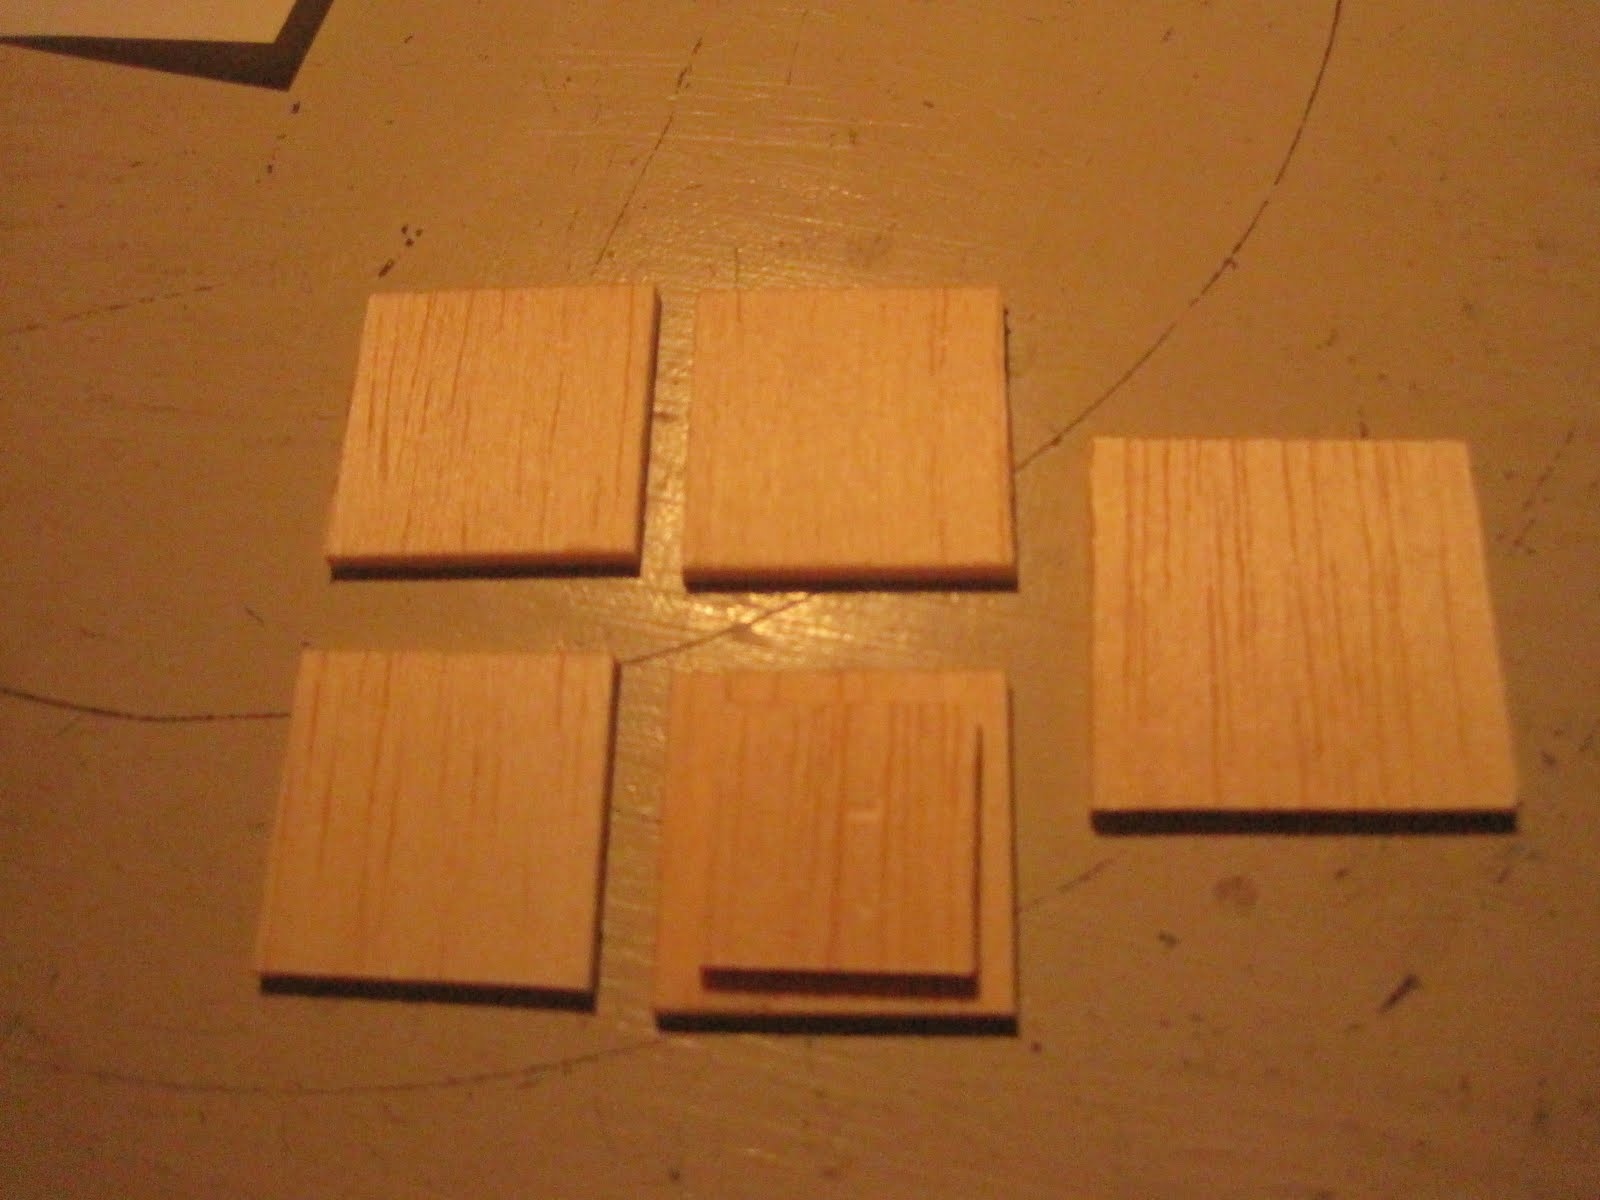
These are the parts you're going to need: 4 sides, one slightly larger top panel and one slightly smaller panel to make the door.
This is what they look like once they've been assembled.
After that has dried, I add the legs. I let them dry up to a point where the glue becomes "bendable" upside down, and then I let it harden when the nightstand is standing upright so I'm sure it won't be wobbly.
Trendy couch
This couch was made by the same pattern and principle as the beige couches in the living room. The basic structure of it is just cardboard, and it's extremely easy to make.
The next step is to wrap the different parts of the couch in whatever fabric you choose to make your couch in. You glue the parts together and you're done!
Sunday, August 14, 2011
Thursday, August 11, 2011
Pharmacy cabinet
My grandmother likes making "theme boxes" like these, because her dollhouse is huge and pretty much finished (read: so stuffed with things there wouldn't be room for a fly in it). And since she wanted to make one of a Pharmacy, I decided to make her a box and a pharmacy cabinet. How to make the box seems too self explanatory to make a blog post out of.
The cabinet takes some time, but it's entirely doable if you work precisely.
As usual, I made the back out of foam cardboard because it's hardly visible, apart from the small space in between the shelves. But since I waxed the wood and the cardboard, you can't really tell when the shelves are filled and decorated with small bottles of medicine or whatever.
The dimensions of this back piece are 16 x 13 cm.
These are the two sides of the cabinet. They are 16 cm high and the least broad bit is 2 cm wide. Where it gets wider to make the platform they are 4 cm wide.
After assembling these parts and adding the top (14,5 x 3,5 cm) this is what it looks like. The big parts of the cabinet are made out of 2 mm balsa wood, but the top and the big platform in the middle are 4 mm thick. I really thought it looked better this way, because with glass paper I could round off the edges to give it a more 'ancient' look.
Next I made the lower front, which I gave extra molding by cutting out a rectangle 1 cm smaller on all sides, and a frame to glue around it of the same size as the panel.
After this I added the platform. it starts in between the two side panels, and then becomes wider so as to stick out on all sides of the cabinet, the top view would be like this:

The two shelves hereunder are deceiving, because the top shelf is not to be used as a shelf but as a support for the upper front panel. I realize there is milk on almost all of my pictures, but it's because a. I drink gallons of it and b. I use those heavy boxes to hold things that need to try.
As you can see there is now only one shelf left. And then it was time for the itty bitty work, to cut out 14 pieces of 1,5 x 1,5 cm. I didn't make real drawers because it seemed impossible to do, but if you feel you're up for it, please do! The realer it gets, the more fun you have once it's finished.
Using this terpentine wax of a rather dark color, I painted the cabinet a darker, older looking color, and finished it was! I used big pony beads for the knobs on the drawers, and just paper for the labels.
Friday, July 15, 2011
Ikea Fjellse bed
This is actually my own bed in my room, it was really cheap at Ikea! Since I like simplicity in furniture, I thought I'd make it for my dollhouse. It's easy and quickly done.
This is the mattress support, it's out of foam cardboard because nobody will see it once your bed is made up. This is 9 cm x 10 cm.
Then I surrounded the support by balsa panels, so as to make the bed frame. I glued little wooden beads under it to make the beds 'legs', which aren't the same as the legs of the Ikea bed, obviously, but I thought little round legs didn't look bad on a dollhouse bed. I think if I had made them out of balsa, they would even have splintered and broken.
Thursday, July 7, 2011
Linnen cupboard
I bet you're thinking oh my god what I can't make this, but the truth is, you can, because it REALLY wasn't hard. I made this in one hour and I have no more fine skills than an unemployed plumber!
The back of the cupboard is the white foam cardboard, since it will be invisible, no need to use balsa for it. The two side panels are glued to the foam cardboard back panel.
Back panel: 10 x 9 cm
Side panels: 10 x 3 cm
These are the legs of the cupboard, they add 2 cm to the height of the cupboard which is why the back panel is only 10 cm. I cut out the little 'feet' to give the whole thing a little 'country' look my mom likes.
Legs front and back: 2 x 9 cm
Legs on the sides: 2 x 3 cm
I added the bottom (invisible = foam cardboard) and the top and some shelves.
Bottom: 10 x 3 cm
Top: 10,5 x 3,5 cm
Shelves: 8,8 x 2,5 cm
These are the doors. They are 4,5 x 10 cm and on the right one I added a 0,5 x 10 cm balsa bar on top to be able to "close" the cupboard properly. The moldings were balsa bars of 0,5 cm wide and the middle panels on top are 7,5 x 2 cm.
Next I glued the 'feet' of the cupboard on the bottom, look how great it looks!
The hinges are really just thin cardboard rectangles glued on the sides of the cupboard and to the doors, nobody is going to see them anyway! I intend to paint them black just in case, but really the point is just leaving the door slightly opened so you can see the linnen neatly folded in the cupboard! You can also wax or varnish the cupboard in a darker shade, and give it a worn off look.
Enjoy!
Subscribe to:
Posts (Atom)