
What you need is thread, a hairpin, two little circles cut out of a rubber sheet and one of those very thin wires wrapped in white plastic you use to close up trashbags.

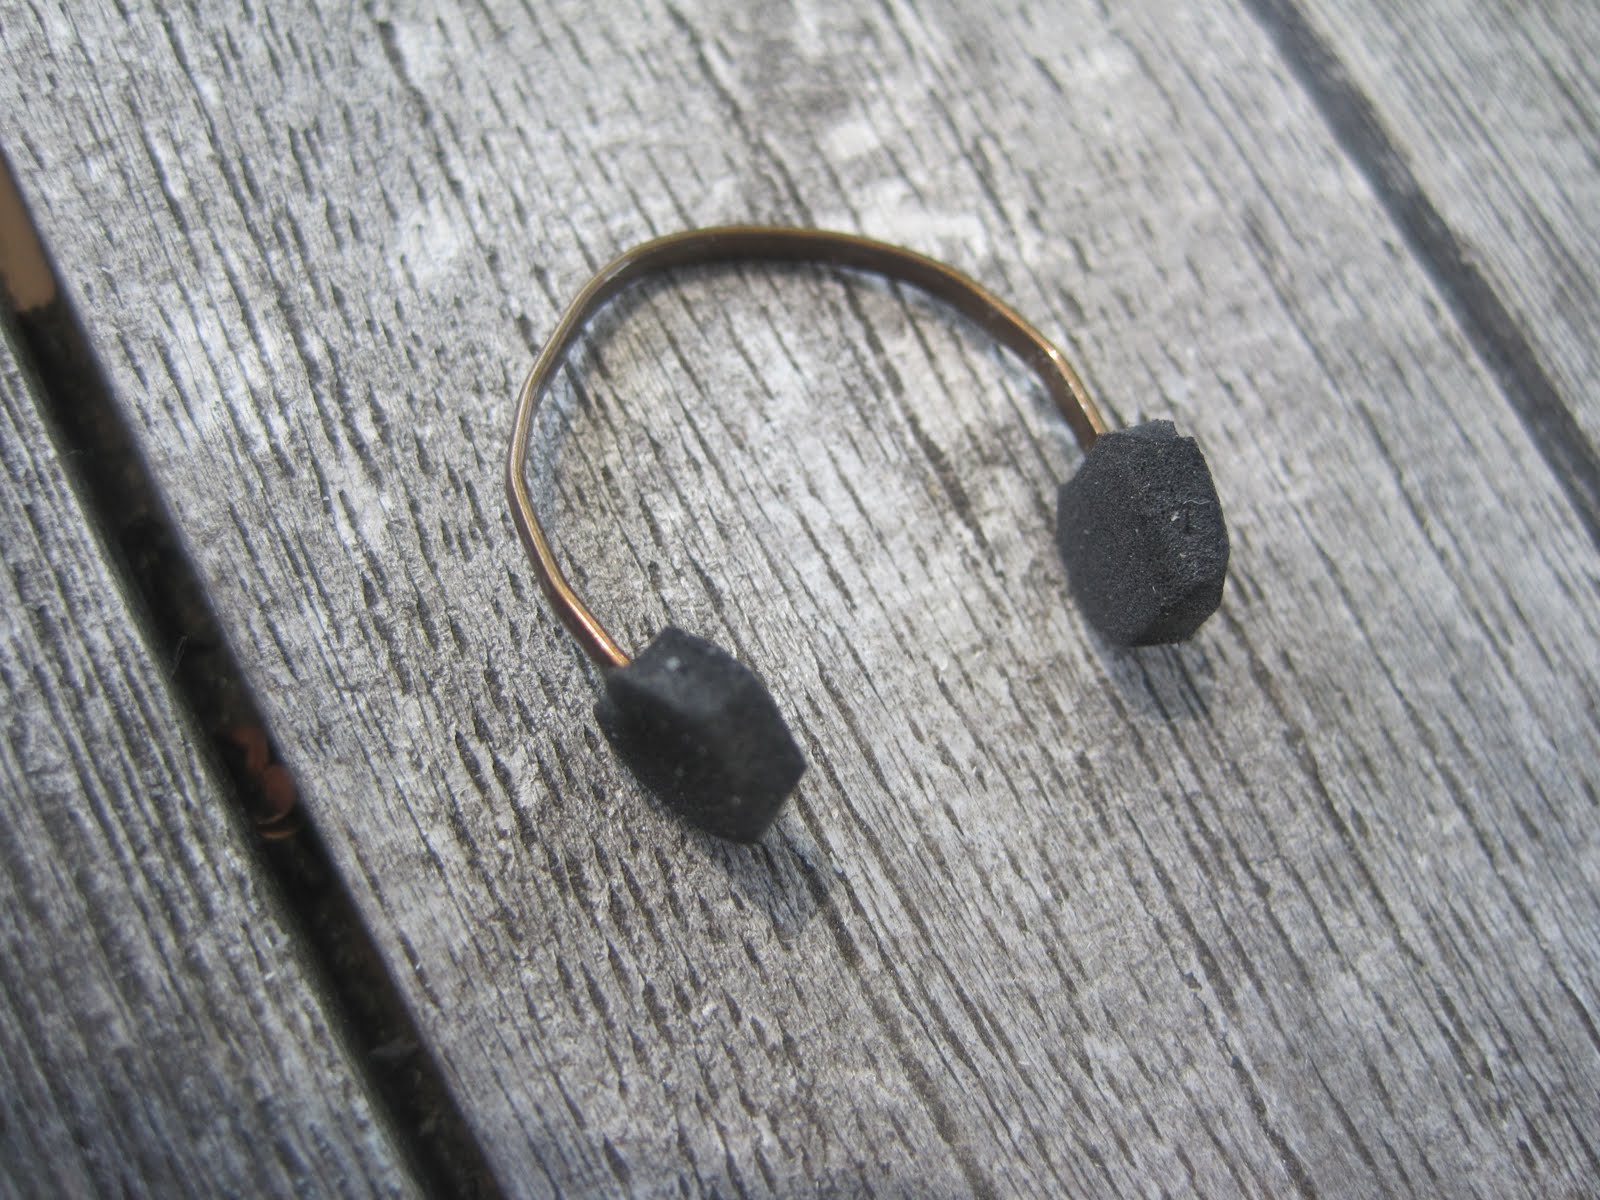
I cut the hairpin in the middle because the zig-zag side of the pin is useless. The other side of the pin is a little flat so good for the 'basic' crown of the headphone. I put the two rubber circles against it (I didn't glue anything yet!!) to see what shape it should be, this is really helpful to see if it's too much of a C or too much of a U.
You can leave it like this if this is enough of a headphone for you, there are models like this and you can clearly tell what it is. You just glue some thread onto the rubber circles to make them look like wires and you're done. But I needed a more fancy headphone so I added some wire to it.
The trashbinwire can easily be freed from the plastic coat it's in, you just pull it out in the beginning, stick the little end between your teeth and pull off the plastic -that's how I do it but normal people might just use pliers.

The wire is going to be used as an "auxiliary crown" like the quality headphones usually have.

I cut a piece of cardboard slightly larger than the rubber circles to make the outside of the actual speakers. I glued the threads that would form the headphonewires in between the cardboard and the rubber. As you can see I retardedly glued the left one on the wrong side, but I corrected myself later on. The picture is just to give you an idea.

After adding the hairpin piece and painting the whole bunch black except for the auxiliary crown that can stay in a metal color, I had actual dollhouse headphones, and hopefully you do too:

Very creative and very nice! Love this one and have always wanted some for my Wee people so thanks again for yet another great tut. Your tutorials are very much appreciated.
ReplyDeleteLeilani